


One question we receive a lot is how to run your Ghost Inspector automated browser tests on your application during the continuous integration process. We’ve put together a tutorial below demonstrating exactly how to achieve this with the use of ngrok and the Ghost Inspector API to test your application within it’s build container. Our tutorial is built around CircleCI, but the same setup should be achievable on many different continuous integration platforms.
Step #1 – Start your application and record your tests
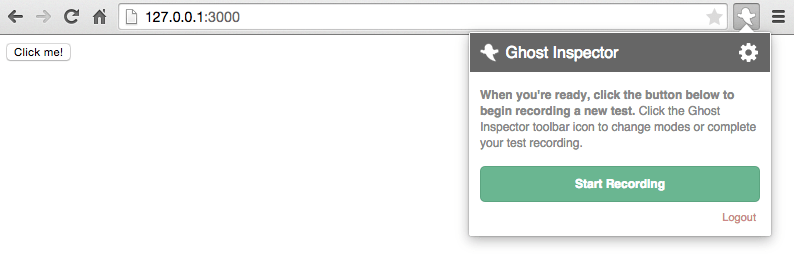
First thing’s first. We need to setup our Ghost Inspector tests. If you’re new to Ghost Inspector, check out our short video demo, then create a free account. We’ll want to record our browser tests on the same setup that is launched in our continuous integration environment. This means that if you intend to test your application in “mock” mode, you’ll want to use that while recording.
For this tutorial, I’ve created a very simple Node.js application that serves a single HTML page on port 3000:
var http = require('http')

var server = http.createServer(function (req, res) {
  res.writeHead(200, { 'Content-Type': 'text/html' })
  res.end('<html><body><input id="btn" type="button" value="Click me!"></body></html>\n')
})

server.listen(3000, '127.0.0.1')

console.log('Server running at https://127.0.0.1:3000/')
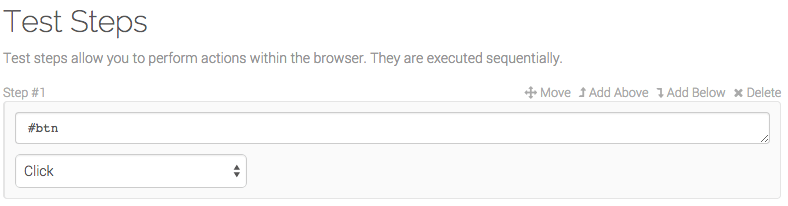
And, I’ve recorded a Ghost Inspector test that clicks the button on the HTML page:
Step #2 – Create a free ngrok account
ngrok is a tool that exposes a local service to the internet via a secure tunnel. In our case, we’ll be using that tunnel to allow Ghost Inspector to access our application and test it within our continuous integration build container. We need to sign up for a free ngrok account.
Step #3 – Configure CircleCI to open a tunnel and test with Ghost Inspector
Now that we have our Ghost Inspector test(s) setup and ngrok account created, we need to tell our continuous integration system to do the following during the testing phase:
-
- Start our application.
-
- Download ngrok and open a tunnel to our application’s port.
-
- Execute our Ghost Inspector tests on our application by overriding the start URL with the temporary tunnel URL
-
- Check the results for any failed tests.
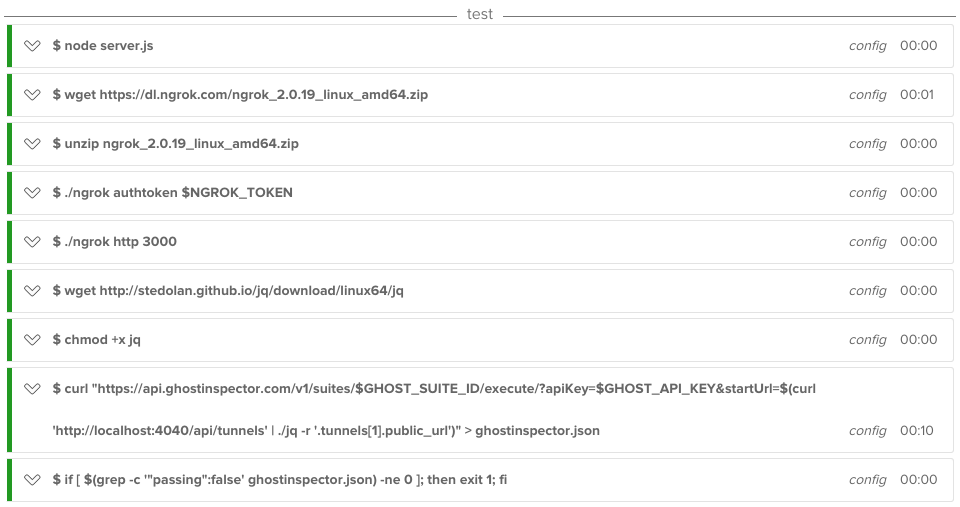
Here’s the configuration we’ll use for CircleCI:
test:
  post:
    # Start our application
    - node server.js:
        background: true
    # Download ngrok and open tunnel to our application
    - wget https://bin.equinox.io/c/4VmDzA7iaHb/ngrok-stable-linux-amd64.zip
    - unzip ngrok-stable-linux-amd64.zip
    - chmod +x ngrok
    - ./ngrok authtoken $NGROK_TOKEN
    - ./ngrok http 3000:
        background: true
    # Download json parser for determining ngrok tunnel
    - wget https://stedolan.github.io/jq/download/linux64/jq
    - chmod +x jq
    # Execute Ghost Inspector tests using the ngrok tunnel
    - curl "https://api.ghostinspector.com/v1/suites/$GHOST_SUITE_ID/execute/?apiKey=$GHOST_API_KEY&startUrl=$(curl 'http://localhost:4040/api/tunnels' | ./jq -r '.tunnels[1].public_url')" > ghostinspector.json
    # Exit with a fail status if any tests have failed
    - if [ $(grep -c '"passing":false' ghostinspector.json) -ne 0 ]; then exit 1; fi
This configuration uses a couple of different environment variables which you can set within CircleCI either in your circle.yml file or via your project’s settings (recommended):
$NGROK_TOKEN- ngrok authentication token (available in your ngrok account)
$GHOST_API_KEY- Ghost Inspector API key (available in your account)
$GHOST_SUITE_ID- The ID of your Ghost Inspector test suite
That’s it. You’re done!
CircleCI will now execute your suite of Ghost Inspector tests within the build container and fail the build if a test fails. You’ll be able to see the results in CircleCI:
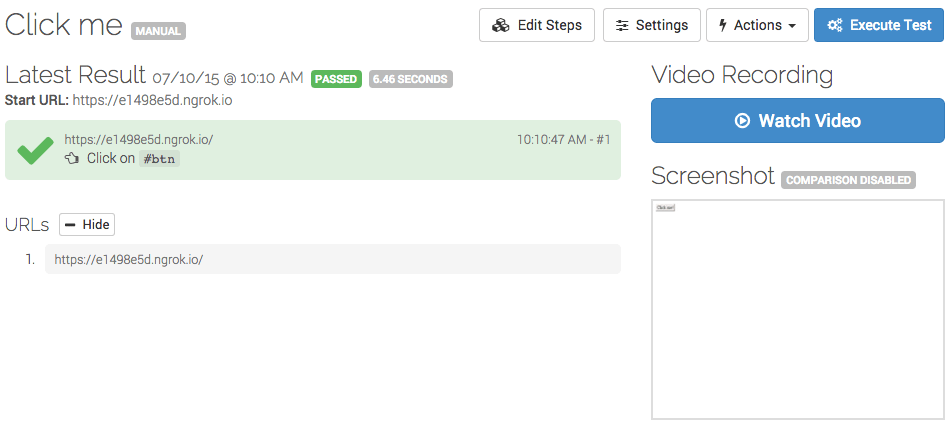
And, view all the details of your test runs in Ghost Inspector:
The full source code for everything in this tutorial is available on GitHub.